

*post may contain affiliate links*
Wow! This post is SO over due I've considered saving it for next year! But I decided that you could use this technique for any holiday or party! And how cute would it be in red and green? Maybe that's just what my tree needs this year....
I came up with this idea of making over sized festooning (find the regular sized stuff here) and almost immediately started researching it out. Well, I found that my absolute favorite party blog did this tutorial 4 years ago! Oh Happy Day did a beautiful job with this but after trying it out myself I have some subtle hints and tricks that will help you get it right the first time!
Here in Utah/Idaho we have an amazing party store called Zurchers. They are ALWAYS my first stop when I need party decor. They have perfect pricing and they have the most trendy party supply available! I knew I wanted to work with them the second I had the idea to throw a Vintage Halloween Party to launch this blog! Make sure you check that post out to see all the amazing things I got from Zurchers.

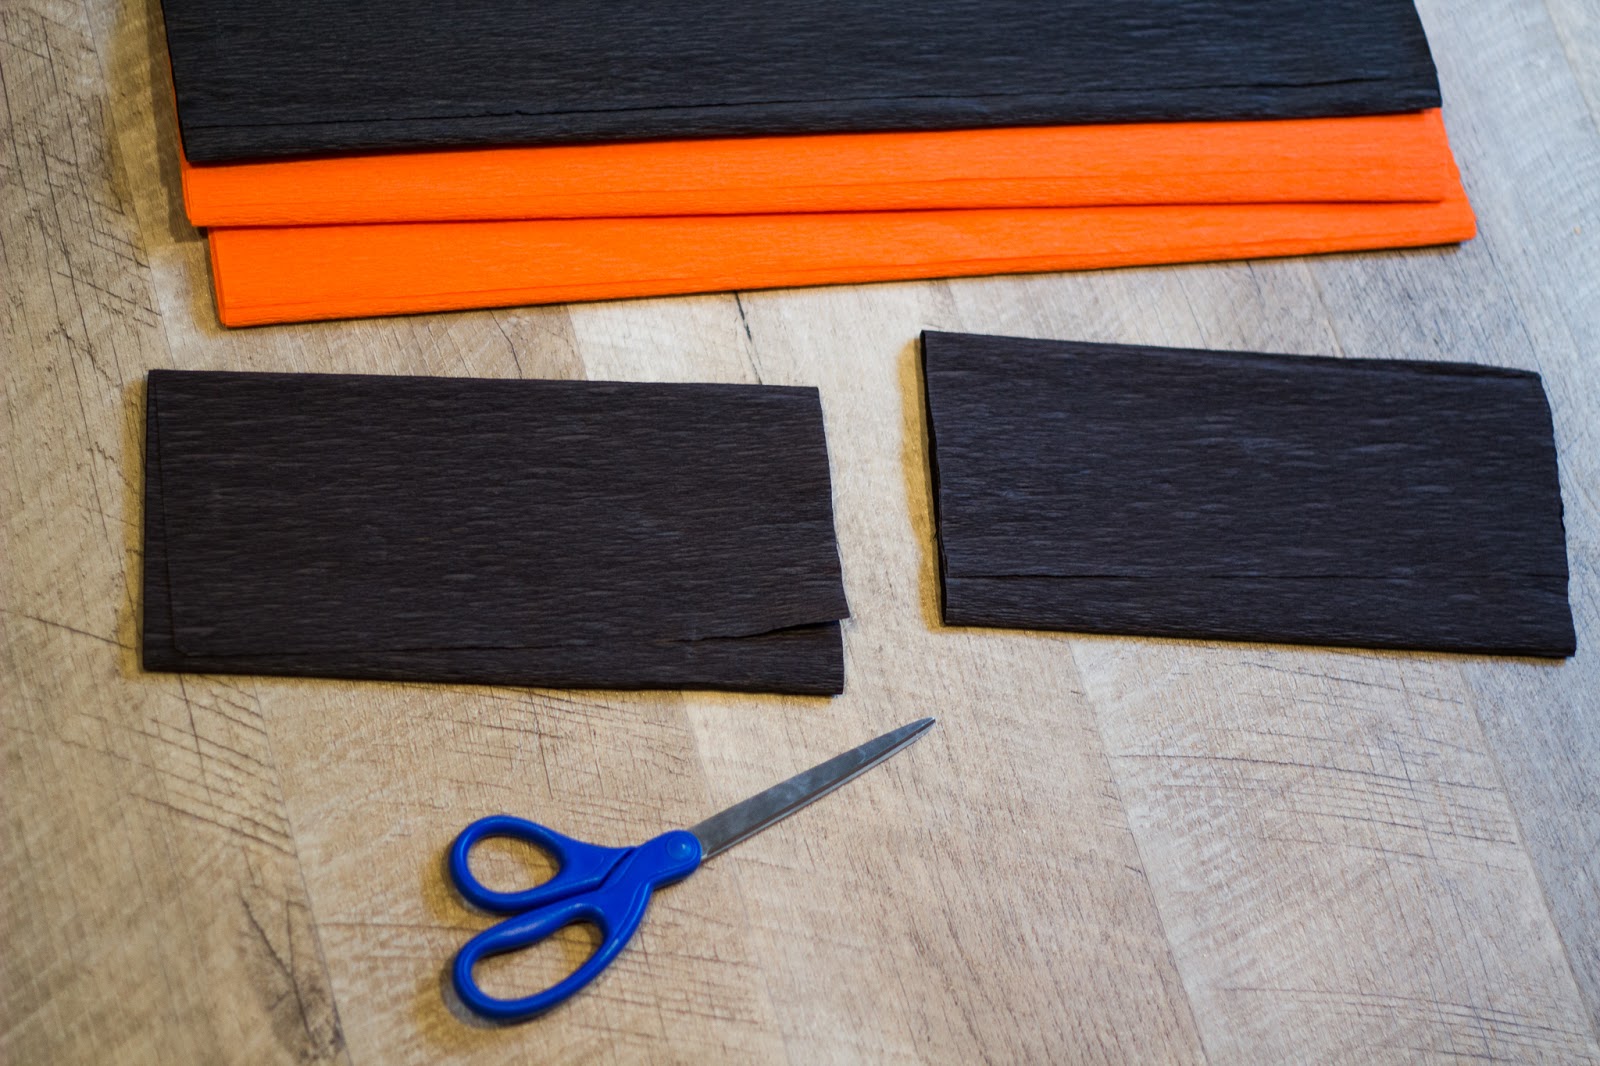
Down the aisle with tissue balls, paper lanterns and streamers you'll find this crepe paper folds (or you can find it online here!). It is the same material as streamers but much wider! For this big fluffy garland you will want 4 packages of it. It is very inexpensive so this garland is a lot of bang for it's buck! You will also need scissors and a stapler. Simple, right??

Cut all your folds in half down the width


Then roll them all the way out

keep going...

more..

okay there's the end! this garland will end up being about 7.5' long! Great length for any background!


Now stack each one on top of the next lining them up as straight as you can.

I did mine every other color the first time and then I switched it up and did two orange and then two black. After all was said and done I don't feel like it made a big difference. So do what feels right to you!

I found that not every package was exactly 7.5' but in the end it doesn't really matter because you can trim off the excess to make them all even.

Now fold this sucker in half hot dog style!

It's definitely a little tricky but just line up the ends as evenly as you can all the way down and press down the fold.

Now you can staple it all together! I recommend stapling it no more than a half inch away from the fold to make things easier later when you fluff and twist. You just want to make sure you are going through all the layers so you don't loose pieces down the road! You can staple it every 3-4 inches apart all the way down the length.

And cut off the excess here to make it all even!

Now we cut about and 1.5" slit down to the fold. BE CAREFUL NOT TO CUT ALL THE WAY THROUGH! I did this a couple of times and had to staple it back together which lessens the strength of the garland on it's own and makes it trickier to fluff.

Here we are all cut up! This may or may not be a different garland due to technical difficulties 😂 I forgot to make the colors in the same order so they look the same. Oops!

Now here is the fun, and time consuming part! This takes a LONG time! So get comfy on the couch and turn on some Netflix because each garland I made took about an hour just to fluff!

What you do is go through each and every piece and slightly (not too hard or it will tear) stretch it sideways.


After you've gone down the whole garland separating each piece and stretching it, you will twist the garland as much as you can. You can be a little more rough here because all the layers make it strong but still be careful.

After the first little bit you will get the hang of it and get the look you want by twisting and fluffing!

There you have it! Now make it in all sorts of fun colors you can get at Zurchers! Please tag and show me if you make this! I love it and think it makes a huge impact for any party and for such a low cost too!!


No comments